How to Take Nice and Professional Photos with Your Phone’s Camera
Want to take stunning photos without buying an expensive camera? The good news is you probably do not need one. The mobile phone sitting in your pocket is more powerful than you might realise. With a few easy techniques and a bit of practice, you can lift the quality of your photos and create impressive images that are perfect for your website, social media and marketing materials.
We already discussed why every business needs professional videography. So in this guide, we are going to show you some straightforward camera phone tips for getting better photos with your phone, from mastering the light to using handy features like gridlines, portrait mode and HDR. These techniques are perfect for both iPhone photos and Android photos.
Steps to take nice photos with your phone camera
1. Understand the Lighting

Lighting plays a massive role in taking a great photo. Shooting under harsh midday sun can leave your images looking overexposed with strong shadows, which often makes them look flat and unprofessional.
Whenever you can, aim to take your photos in the early morning or late afternoon. These times are called the "golden hours", when the light is softer, warmer and much more flattering for photography. If you are stuck shooting in the middle of the day, look for some shade or use a simple reflector to cut down the intensity of the light.
Natural light almost always looks better than indoor lighting, so if you get the chance, head outside to capture your shots.
Bonus Tip:
If you have to stay indoors, set your subject up near a window where you can use the soft natural light. Try turning off any overhead fluorescent lights as well, as they often cast strange colours that do not look great in iphone photos or android camera shots.
2. Master Composition

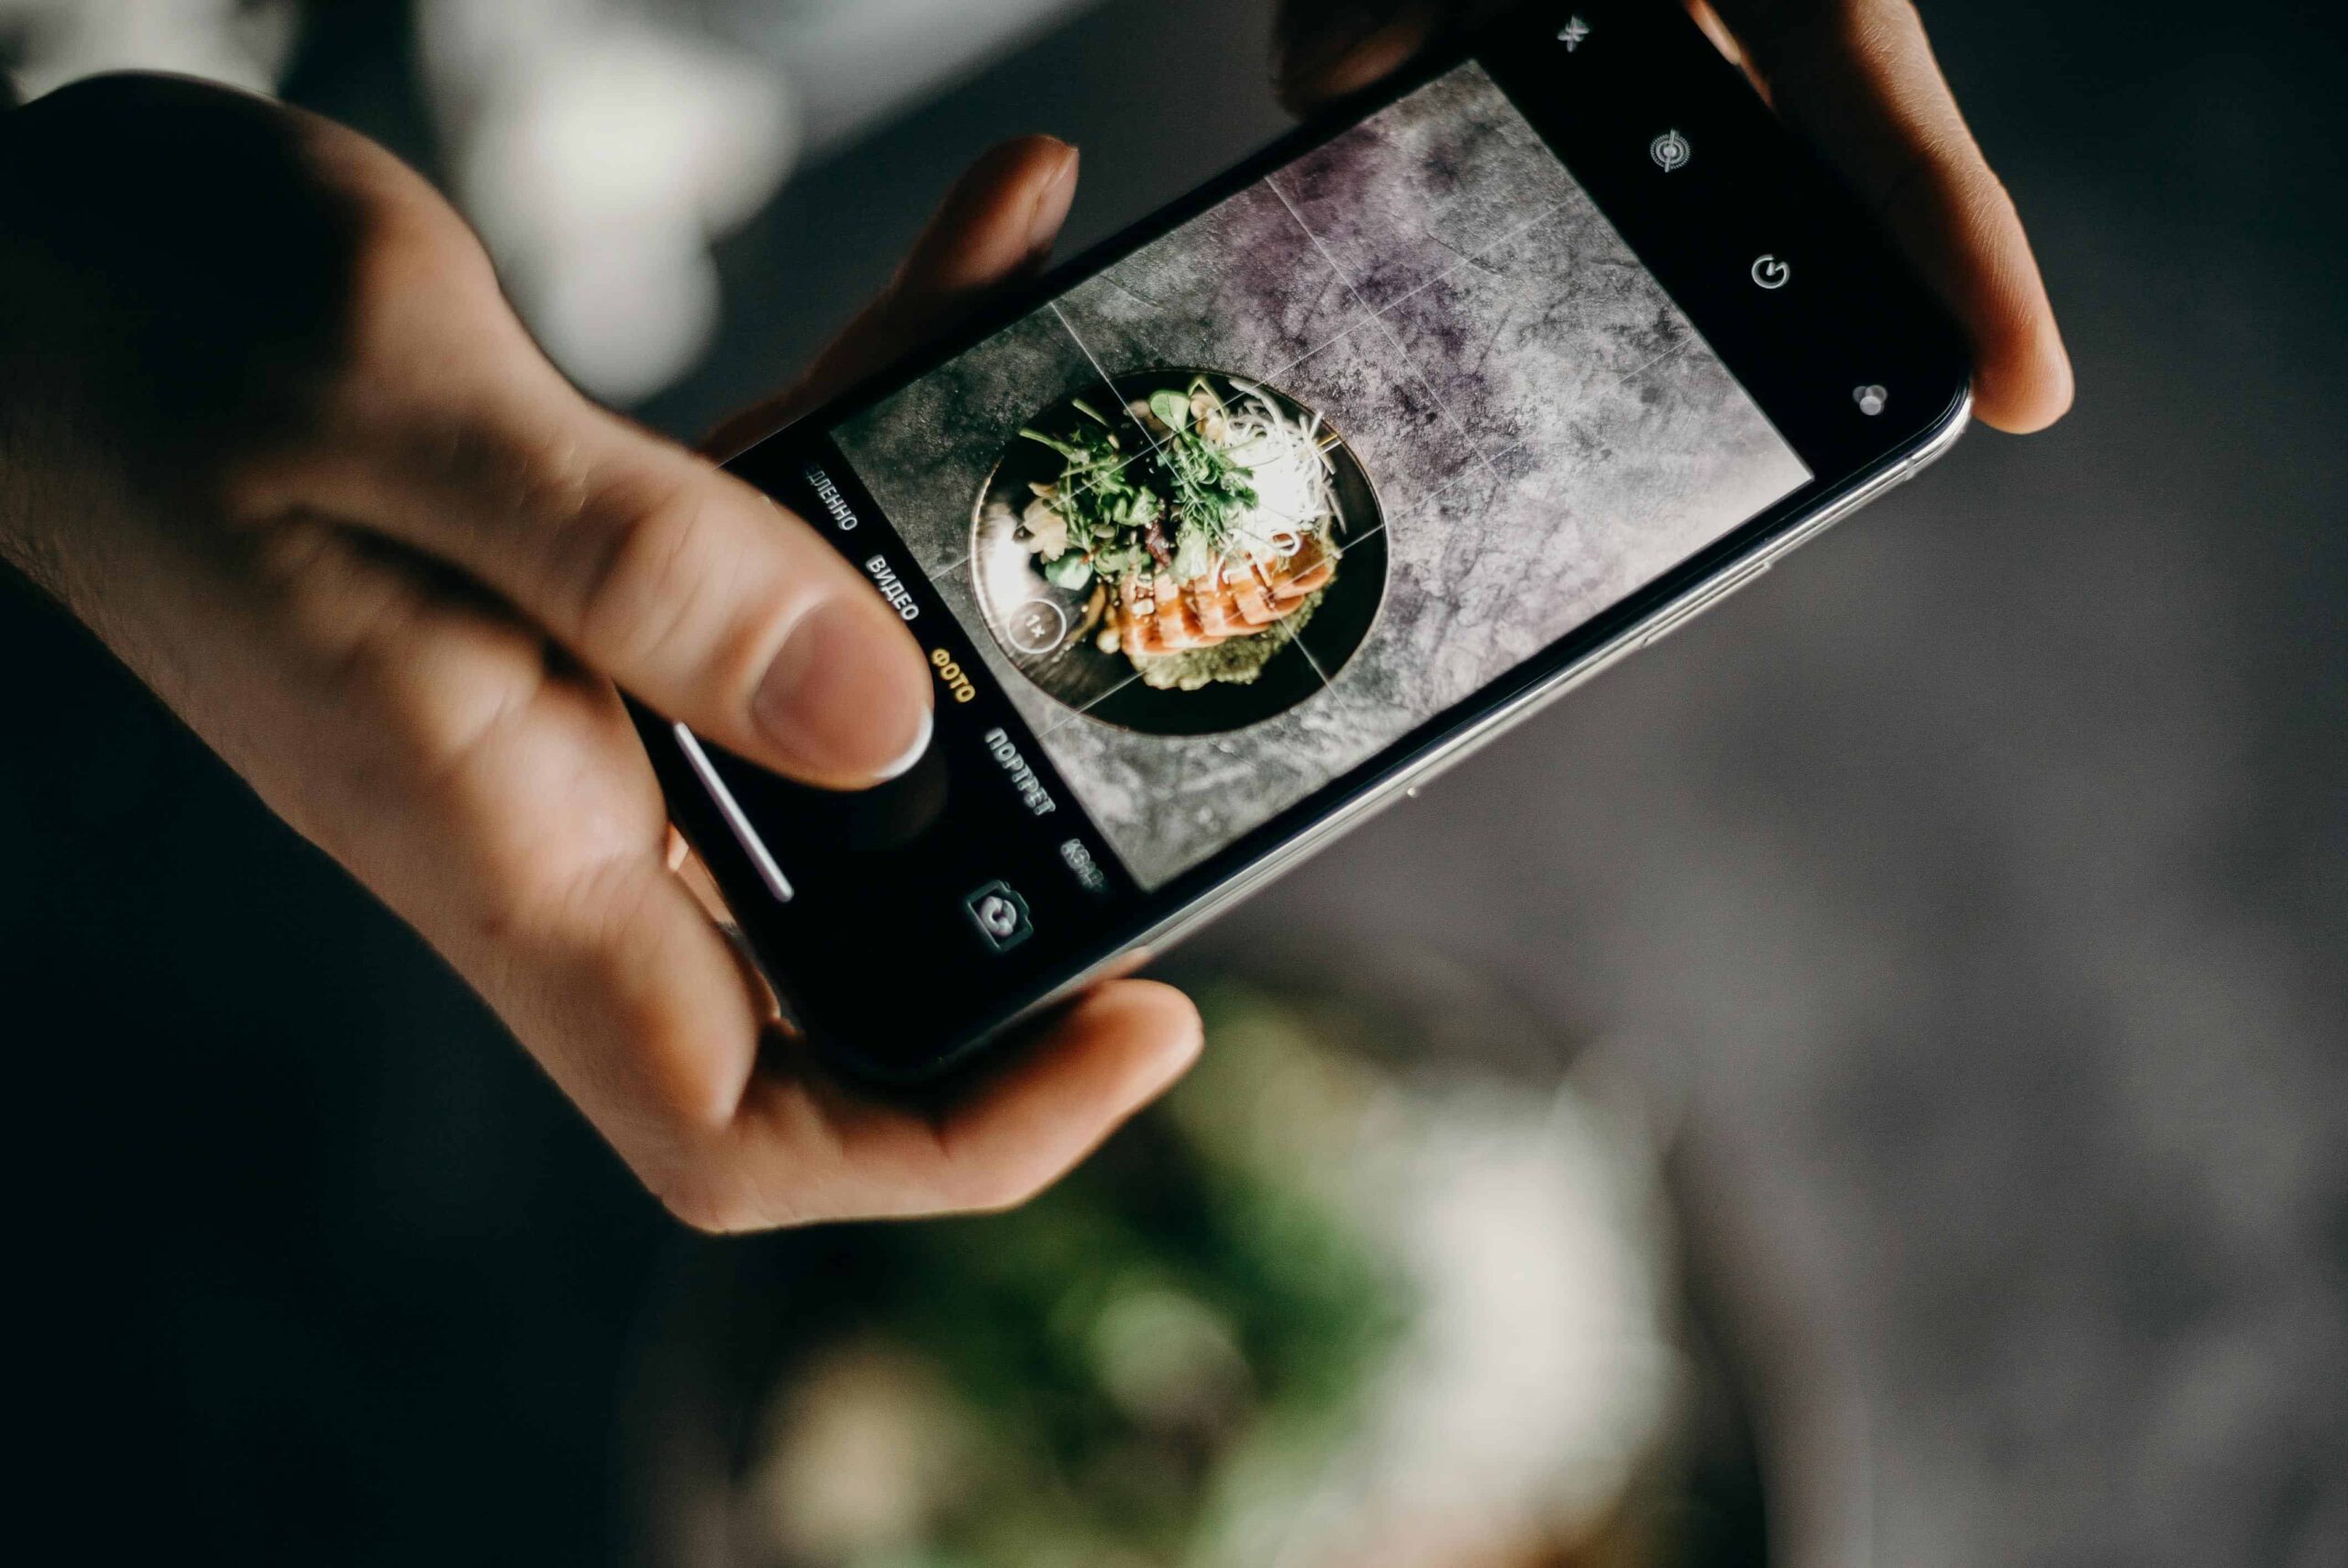
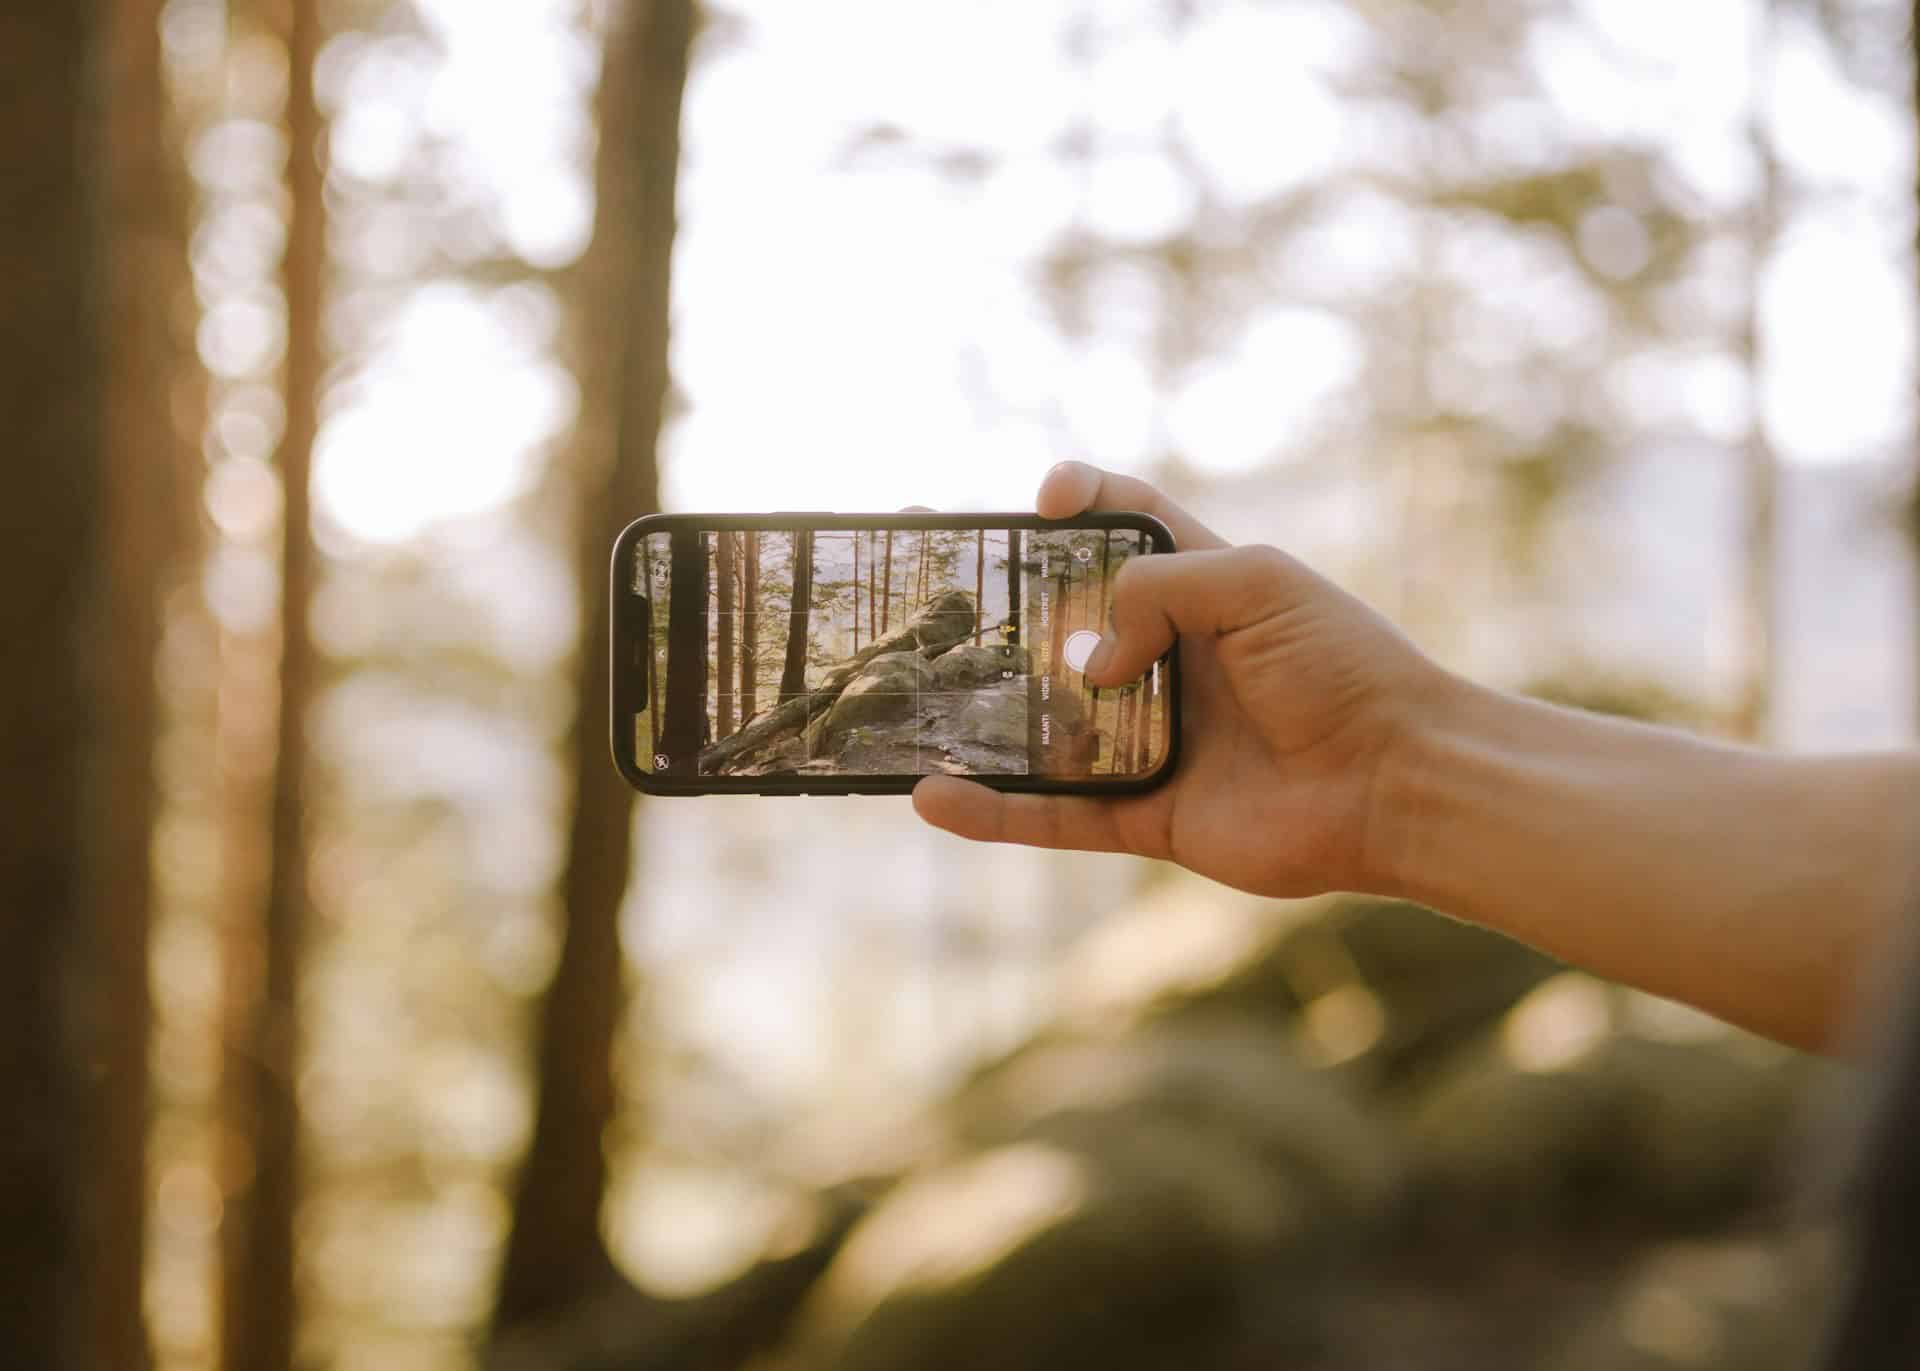
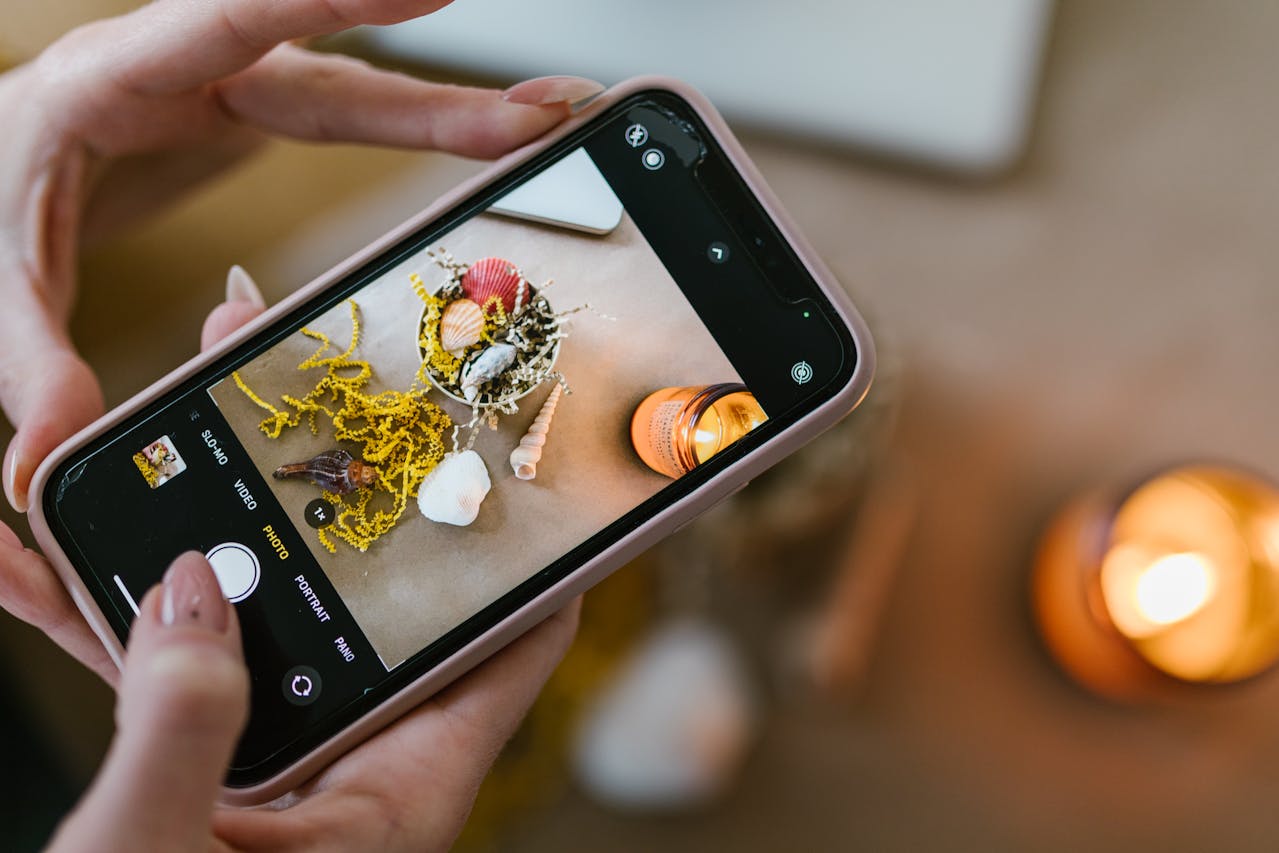
Composition is all about how you arrange the elements inside your frame to create a photo that feels balanced and looks good to the eye. A really simple way to lift your composition is by switching on the gridlines setting on your phone’s camera lens.
Following the rule of thirds, you place your subject along one of the lines or at one of the points where they cross, instead of plonking them right in the middle. It might sound simple, but it instantly makes your shots look more polished and professional.
You can also try getting creative with your angles. Crouch right down or find a higher spot to shoot from. Sometimes, just moving a little can totally change the feel of your photo.
Bonus Tip:
Give your subject some breathing space in the frame, especially towards the top. A bit of negative space makes your photo feel less crowded and gives you options if you need to crop later for socials or your website.
3. Shoot in RAW Format

Many of the best phones for photos these days, like the newest iPhones and top-end Androids, let you shoot in RAW format. Shooting in RAW means your camera captures heaps more detail and information compared to a regular JPEG.
When you shoot in RAW, you can fine-tune things like brightness, contrast and colour without ruining the image quality. It is a good idea to have a look through your camera settings and turn RAW shooting on if you want to get the best results from your iphone camera or android camera.
However, it’s important to notice that RAW files can take up more space, so you might need to clear out your phone now and then or transfer your photos across to your laptop.
Bonus Tip:
If you are running low on space, you can set your phone to shoot both RAW and JPEG formats. This gives you easy JPEGs for quick sharing and keeps the full-quality RAW files safe for when you want to polish them up properly later.
How to transfer photos from a phone to a laptop:
You can easily move your photos using a USB cable, cloud services like Google Drive or iCloud, or even wireless transfer apps designed for both iPhone and Android photos.
4. Use Portrait and Landscape Modes

The way you hold your phone can make a big difference to how your photo turns out. Portrait mode is great for close-ups, especially of people or upright objects, while landscape mode tends to work better for wide shots like scenery, group photos or large areas.
Next time you are taking photos, try shooting in both portrait mode and landscape mode. It only takes a second, and you might find one version captures the feel of the moment better than the other.
If you are using portrait mode on your iphone camera or android camera, make sure you tap on the part of the image you want to focus on. This helps the camera lens lock onto your subject and adds that soft background blur that gives your photo a clean, professional look.
Bonus Tip:
Some phones let you change the blur level even after you have taken the photo. Try snapping a few portrait shots, then go back and adjust the background blur to make your subject stand out more if the background is looking too busy.
5. Capture Wide, Medium and Close-up Shots

When you are photographing something, do not just stick to one distance. A wide shot helps to show the full setting and gives a sense of place. A medium shot brings the focus a bit closer to your subject while still showing some of the surroundings. A close-up gets right in and captures the fine details, making the photo feel more personal.
It is best to avoid using digital zoom, as it tends to lower the quality of your images. Instead, physically move yourself closer to the subject if you need a tighter shot.
Having a range of wide, medium and close-up images will give you lots of options when it comes to creating social media content, website graphics and marketing materials. These camera phone tips will help you tell your brand's story more clearly through photography.
Bonus Tip:
When you are shooting a set of photos, think like a storyteller. Start with a wide shot to show the full scene, move in for a medium shot to introduce the subject properly, then finish off with a close-up on a key detail. It makes your content feel more natural and connected when you use it across websites and campaigns.
Bring Your Brand Story to Life
Following these simple tips and camera phone tricks can really lift the quality of your photos.
But while phones are great for everyday pictures, sometimes it is worth getting a professional involved. A pro can get the lighting, angles and edits just right, so your photos look sharp and really show off your business properly.
If you need a hand with professional photography, Tailored SEO offers photography and videography services right here in Tasmania. Get in touch and see how we can help bring your brand’s story to life with amazing visuals.
